Case Jacket – Website Redesign

Case Jacket is a fast and straightforward case management system that is used by over 3000 people. Currently, the software is being redesigned to a more modern look and feel, so I decided that creating a landing page that reflects the new look.


I started my design with a few very rough whiteboard outlines, refining and editing until I land on something that will work. This stage of the process is focused on functionality over design.


IMG_0106


Once I lay out the major elements of the site on a whiteboard, I move to a notebook to further refine the idea. Again, this stage of the design is less about look and feel, and focuses instead on functionality.

IMG_0105


The next step is bringing my ideas into Photoshop. This is where most of the design elements like color, logo and typography are added.

casejacket-mockup

Google Analytics – How to get started

Hello everyone,

Google Analytics is a service that we provide to our clients so that we may track their website traffic. It is a powerful free tool, so I created a quick walk through.

First, log in to your Google account (you can create one for free if you don’t have one). Then head over to the Google Analytics Site. 

google-homepage

Then, click the sign in button, and then Google Analytics.

From here, follow the prompts until you reach the New Account page. Fill in the Account Name, Website Name, and Website URL with your domain name.

google-signup

Accept the terms and agreements, and you will land on the page providing you the script to track your site.

google


The only thing left to do is copy the code, and paste it in your header (or give it to your developer)


Design Matters – Redesign Concept

While i’m at the office I often have a design podcast running in the background. One of the podcast sites I visit most is Design Matters with Debbie Millman, so I decided to make a redesign concept in my spare time.


design-matters-mac


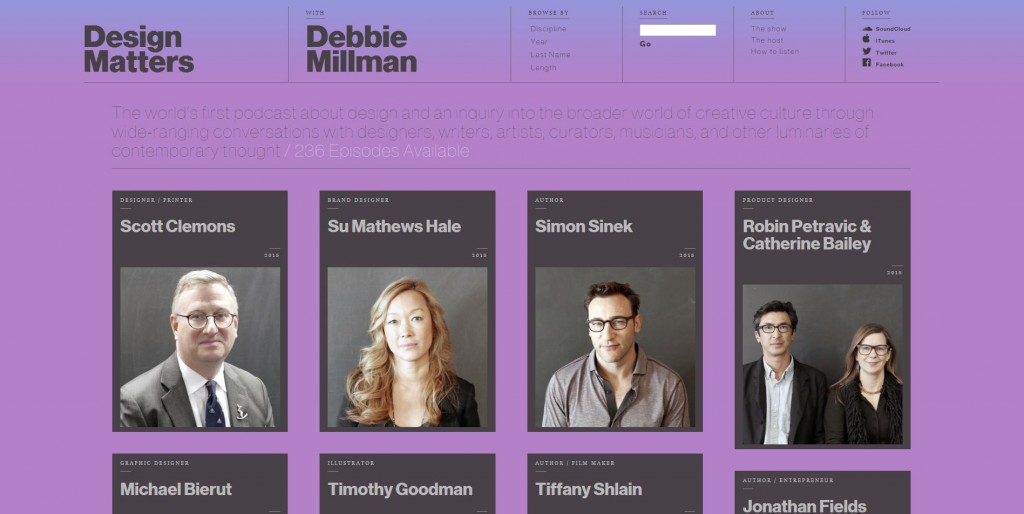
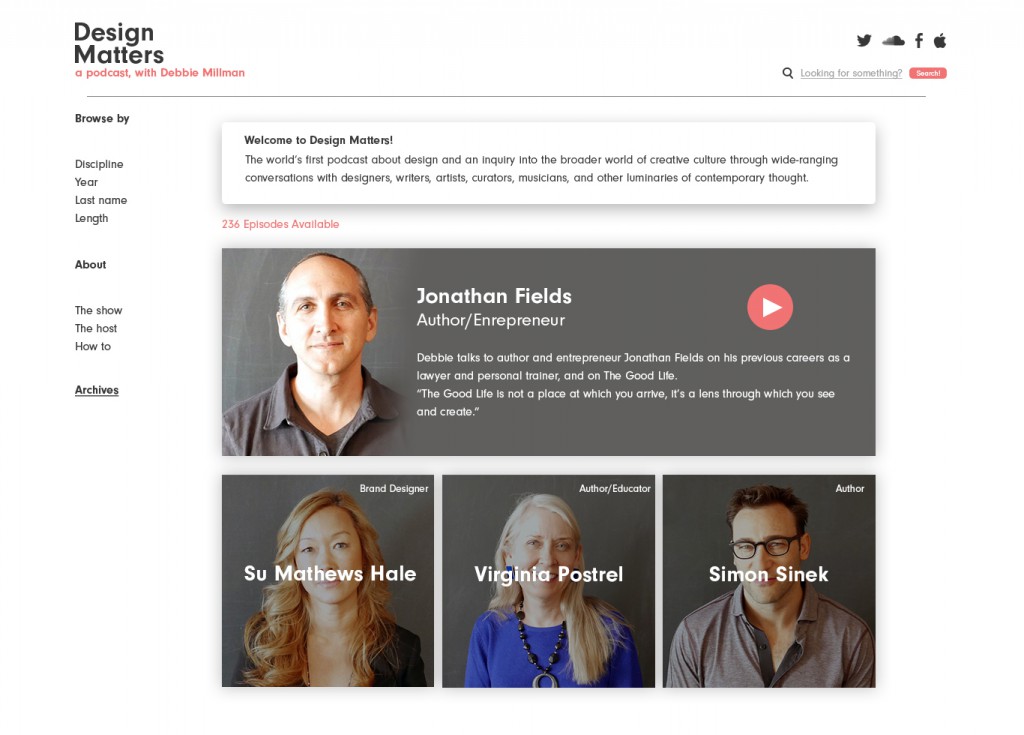
The current website has some awesome elements that I felt can be emphasized with more white space, and a side bar for navigating the different episodes. I also decided to make a large banner as a “featured podcast” section, highlighting the most recent guest. Instead of going to a different page, the podcast would play on the landing page, allowing you to scroll around while you listen. I also changed the font, weight and color scheme to highlight important areas.

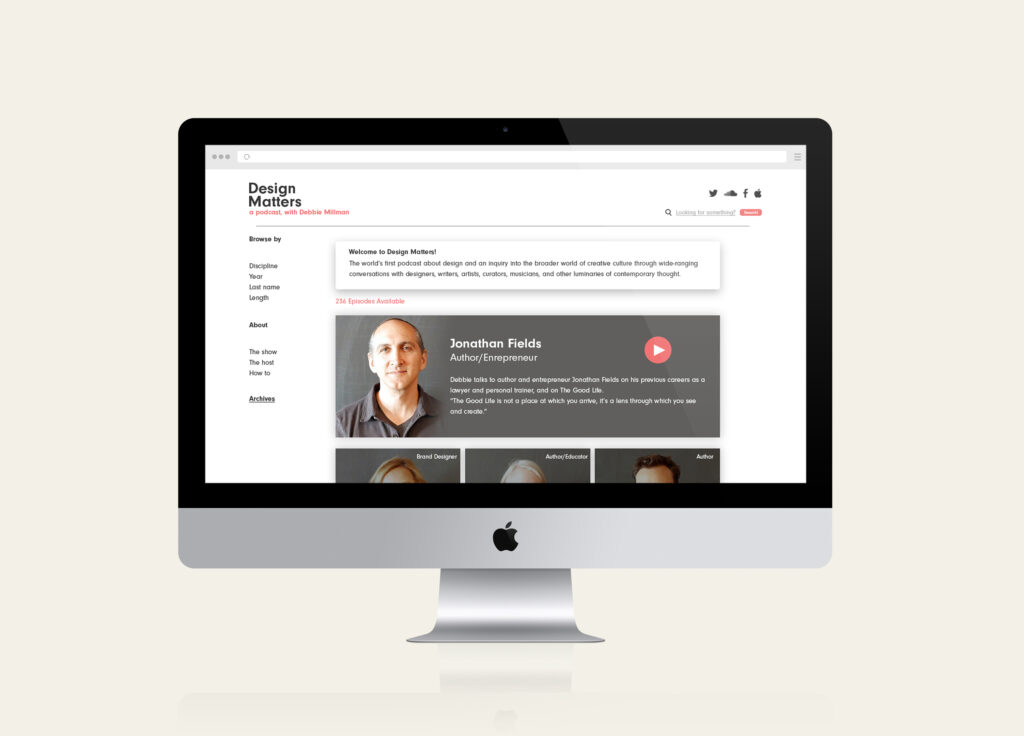
You can see a before and after screen shot below. You can listen to the Design Matters podcast here.


Design-matters


Design-matters-redesign

Using Google Fonts for web.

Google fonts are a great free resource for web designers. Using them however, wasn’t straight forward for me at first. I’ve created a quick step by step guide for new web designers to use as reference.

Enjoy!


How to run a google font on a site.

First, go to https://www.google.com/fonts and select the fonts you wish to use by using the add to collection button.

In the bottom right corner, select use. This will take you to a page asking you to select the font weights you wish to use. Scroll down until you see the lines of code provided.


google-font-1


Next, open your theme folder from the repository using sublime. You will need to open the functions file and the style.css file.

In the functions file, scroll down to the Enqueue scripts and styles section.

Copy the “add this code to your website” line and paste it into the file with a new wp_enqueue line. It should look like line 163 below.


google-font-2


Next, open the style.css file and scroll to the typography section. Paste in the “integrate the fonts into your CSS” line as shown below on line 275.


google-font-3


Save your files and your font should be loaded.


If you want to use different fonts for headings and body content, make the following adjustments.


First, select the two fonts you want to use from https://www.google.com/fonts and select the fonts you wish to use by using the add to collection button, click use, and go to the almost done page.

When you copy the code, copy the line now containing two fonts.

google-font-4

Next, add the body font-family as previously instructed.

For the headings, open the css folder (not the css file used before.) From here, open the styles.css folder.

(For the body font, open the styles.css file highlighted in the picture below. For the header font, open the css folder at the top, then open the styles.css file contained.)
 
google-font-5


Once you open the other styles.css file, scroll down to the styles section. Paste in the font-family as shown below.


google-font-6

Save and your fonts should now be loaded.

WordPress Automatic Updates

We currently manage around 50+ wordpress sites. Keeping plugins up to date on a wordpress site quickly became a daily routine. This task quickly had to be tasked to one of our team members on a daily basis.

wordpress-plugin-update-notification
Dashboards like these became a common thing.

Enabling Automatic Updates

By default, every site has automatic updates enabled for minor core releases and translation files. This does not include plugin updates or major releases of core.

You can enable Automatic updates to Core by placing the following in your wp-config.php file.

define( 'WP_AUTO_UPDATE_CORE', true );

The same can be done to plugins/themes however these are done via filter.

Note: Do not add add_filter() calls in wp-config.php – causes conflicts with WP-CLI and possibly other problems. Add to theme functions.php

Automatic updates for All plugins:

add_filter( 'auto_update_plugin', '__return_true' );

Automatic updates for All themes:

add_filter( 'auto_update_theme', '__return_true' );

Why Should be Updates be made regularly?

  1. Better Security.
  2. Making sure your plugin is up to date with the developer for any known bug fixes or any new features.

Resources

  1. A Guide to Updating WordPress, Plugins and Themes
  2. Configuring Automatic Background Updates
  3. How Do I Configure Automatic Updates in WordPress 3.7?