These instructions will walk you through email setup on an Apple iPhone.
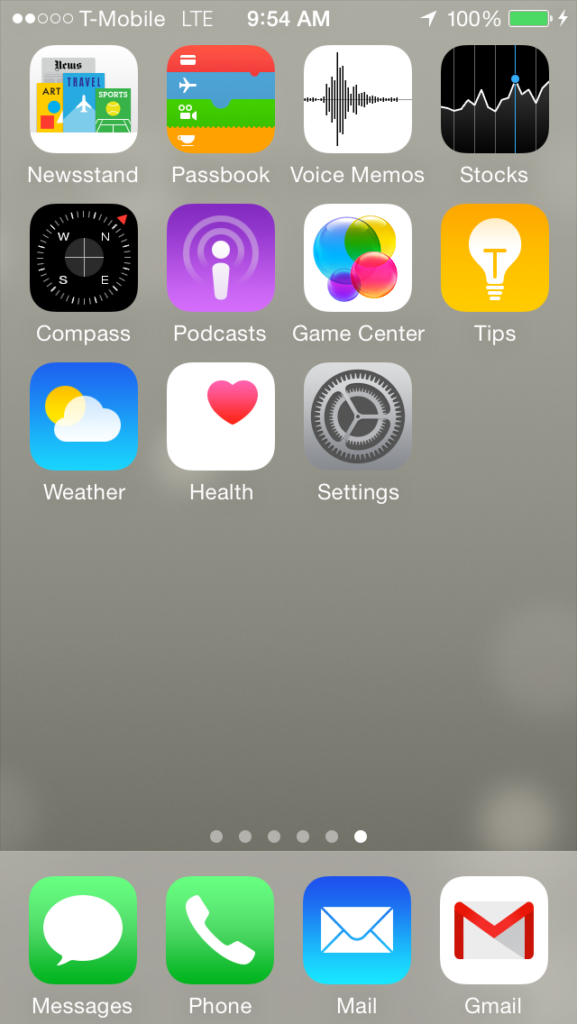
Step 1: Go to “Settings” from the home screen of your iPhone.
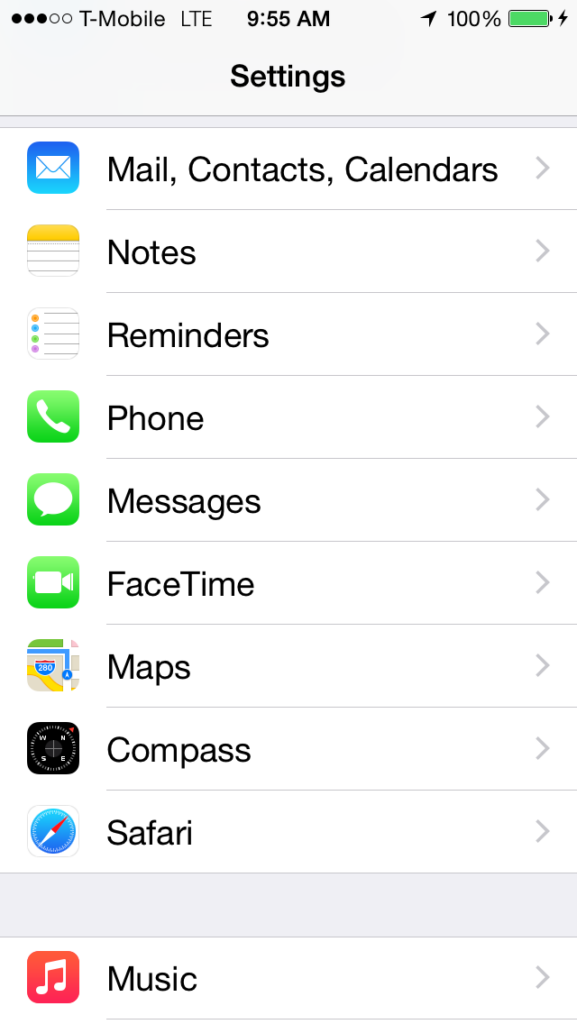
Step 2: Go to “Mail, Contacts, Calendars”.
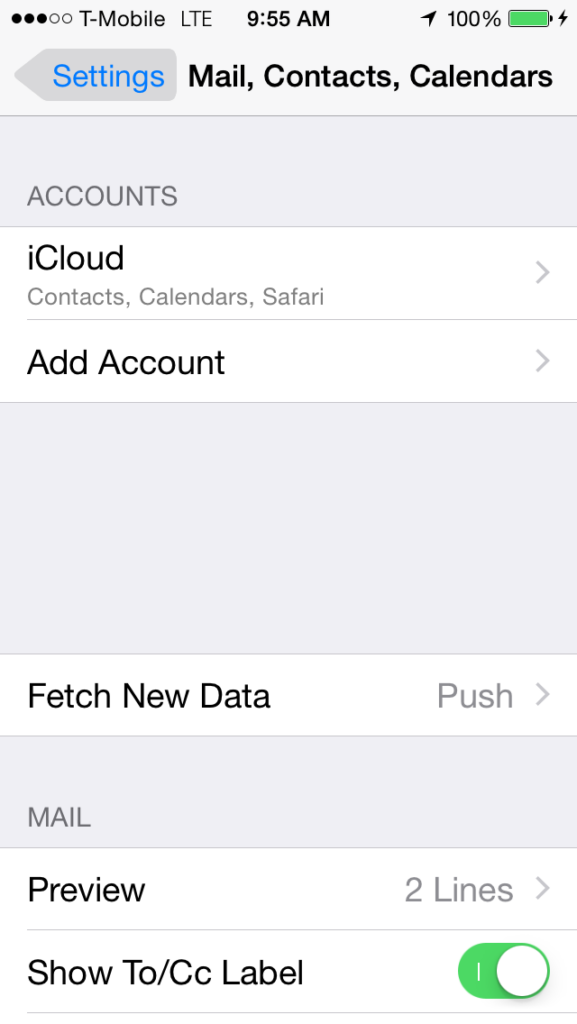
Step 3: Under accounts, select “Add Account”.
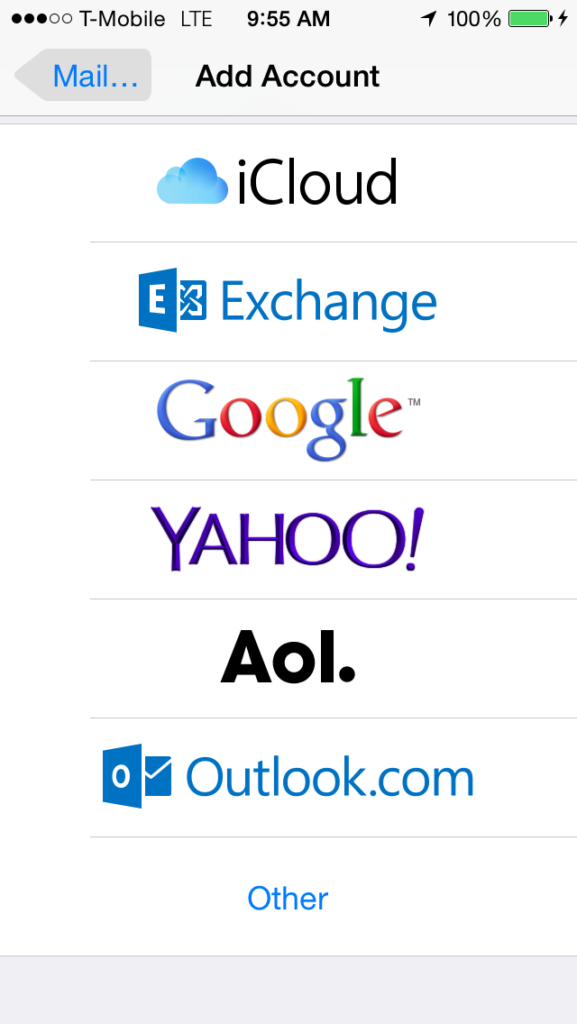
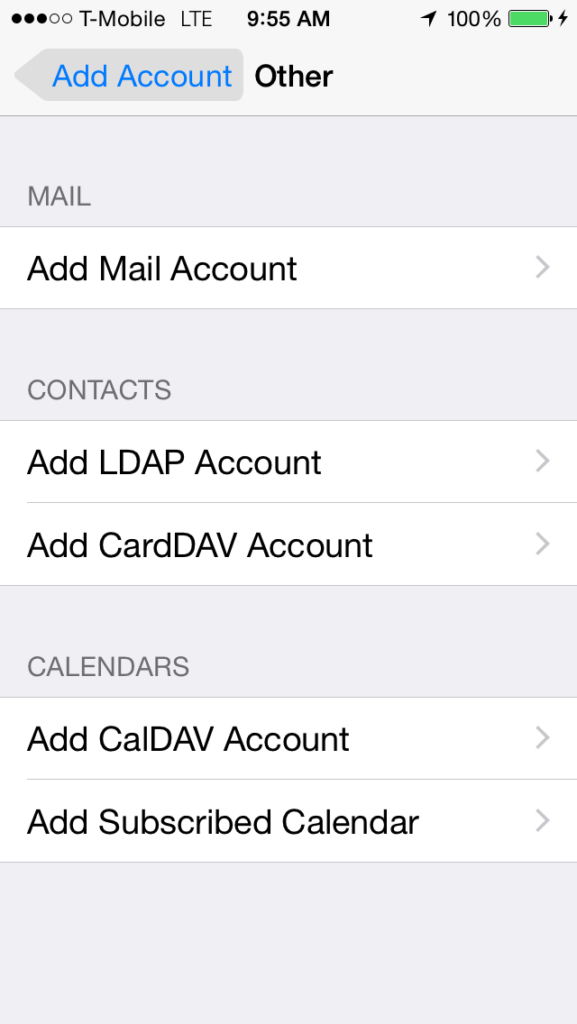
Step 4: Select “Other“.
Step 5: Select “Add Mail Account”.
Step 6:
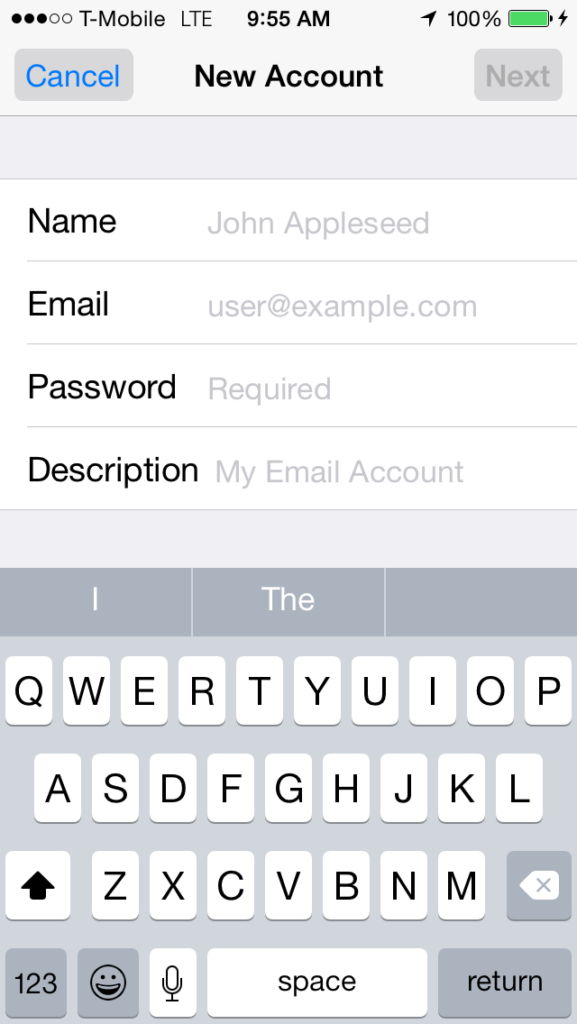
In the New Account menu, you will need to specify the following fields:
Name: your name, it will appear as a sender name.
Address: your full email address.
Password: password for this email address
Description: you can specify any description.
Select “Next”
Step 7:
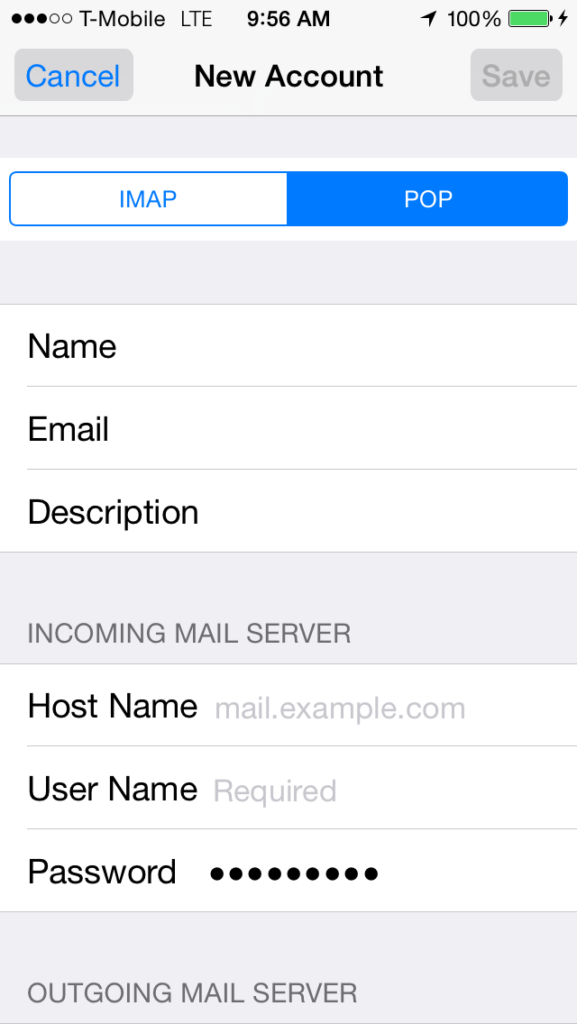
fter Selecting “Next” you will need to enter in our mail server information.
Select POP
Incoming Mail Server
Host Name: Example “mail.yourdomainname.com”
User name: your full email address.
Password: If the password field is not filled in, re-enter it the password for this email address
Outgoing Mail Server
Host Name: Example “mail.yourdomainname.com”
User name: your full email address.
Password: enter the password for this email address
Select “Save”
Step 8:
It will Attempt to Verify. You will get a Message “Cannot Verify Server Identity” Click “Continue” (This may take a couple minutes).
When the verifying is finished you will be redirected to Mail, Contacts, Calendars screen. Please Select the account you just created. Scroll down the screen and select “Advanced“.

Incoming Settings
SSL: Set to off
Authentication: Password
Server Port: 110
Once the above settings are changed go back to the previous screen.
Step 9:
Select “SMTP”
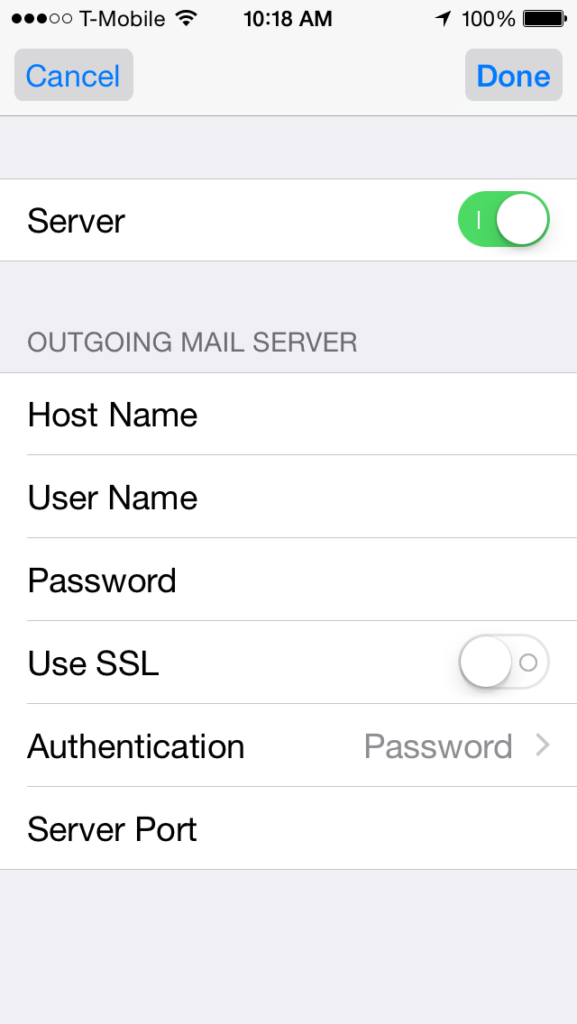
Select “mail.yourdomainname.com”
Server: Set to On
SSL: Set to Off
Authentication: Password
Server Port: 25 (if your network provider blocks this port change Server Port: 8080)
Select “Done”
Step 10:
At this point you your email account should be all set. Make sure the settings are saved and then Select the mail icon from the home screen of your iPhone to begin retrieving your email.