Are you looking to increase the maximum file size you’re able to upload to your WordPress Site? Sometimes the default settings might not be enough to handle the uploads you are looking to make. Whether you’re looking to upload larger images, new plugins, or large theme files, having control over the size limit is an important skill to have. Now let’s dive into how to increase the maximum file upload size in WordPress.
***This is a intermediate skill and REQUIRES some WordPress, File Structure, and FTP Access***
These solutions may also not work with some shared host, however contacting you hosting service provider for support should solve your problem. Also, these are solutions that have been found successful in a number of unique situations, however do note that these solutions do not account for all possible situations.
First Let’s Check Your CURRENT Max File Upload Size
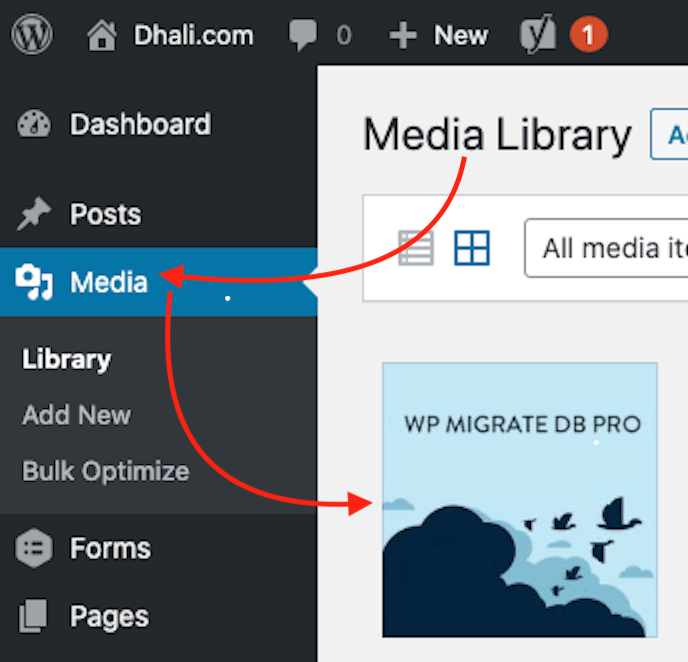
WordPress will automatically show you the current maximum file limit in the “”Media” area of you Admin Dashboard. To find the maximum upload file size go to Admin Dashboard >> Media >> Add New.

1. Editing the Theme Functions File
In some instance all you need to do is copy and paste the following code to your functions.php file. If you want a different size limit, Change ’64M’ to the appropriate amount, example: ‘128M’ . You can get to this file by: Admin Dashboard >> Appearance >> Theme Editor >> Select File “Functions.php”
@ini_set( 'upload_max_size' , '64M' );
@ini_set( 'post_max_size', '64M');
@ini_set( 'max_execution_time', '300' );
Through ini_set(); we can access our PHP configurations and re-write them to suit our needs
2. Creating / Editing a php.ini File
For this next method you will need to have access to your website’s root folder, whether it be through FTP or some other File Managment App
When in your root folder look for a file called “php.ini” this is a configuration file for your site. If you Do NOT see a “php.ini” file please create a blank file called “php.ini”. Once inside this file, whether the file is brand new or old, add the following code to it.
upload_max_filesize = 64M
post_max_size = 64M
max_execution_time = 300
Now that the code is in your file, save and check your site. If you are adding this code to an existing php.ini file search through the file, should be fairly small, and make sure that the code you have copy and pasted into this file is not located any where else. If so delete the code with the incorrect values.
3. Editing the .htaccess File
This last and final method involves editing the .htaccess file that is found in the root folder of your website.
Open the file and copy and paste the following code:
php_value upload_max_filesize 64M
php_value post_max_size 64M
php_value max_execution_time 300
php_value max_input_time 300
Again it is important to note that these methods have worked well for a lot of different websites in a lot different situation, however the 3 methods above can not account for all possible development environments. If you are on a shared hosting package I highly suggest contacting your web hosting provider and discuss increasing the limit for you first.
Hope this article has helped you along your way and has improved your site!